Overview
This guide will walk you through the process of setting up and running the Rice Disease Detection application on your local machine.
Prerequisites
Before you begin, ensure you have the following installed:
- Node.js
- npm (Comes with Node.js)
- Git
- AWS account credentials
Step 1: Clone the Repository
- Open your terminal
- Clone the repository:
git clone https://github.com/amanlikemurphy/rice-detection-app.git
Step 2: Install Dependencies
Run the following command to install the dependencies:
npm install
Step 3: Configure Environment Variables
The application uses AWS Rekognition, S3, and DynamoDB. You will need to configure the environment variables for these services.
- Create a
.envfile in the root directory of the project.
touch .env
- Add the following environment variables:
ACCESS_KEY_ID=your_access_key_id
SECRET_ACCESS_KEY=your_secret_access_key
REGION=your_region
S3_BUCKET=your_s3_bucket_name
DYNAMODB_TABLE_NAME=your_dynamodb_table_name
MODEL_ARN=your_model_arn
Note: Make sure to replace the placeholder values with your actual AWS IAM credentials and configuration. Also make sure the IAM user has the necessary permissions to access the services.
Refer to other tutorialsin this series for more information on how to setup the AWS services.
Step 4: Run the Application
Run the following command to start the application:
npm run dev
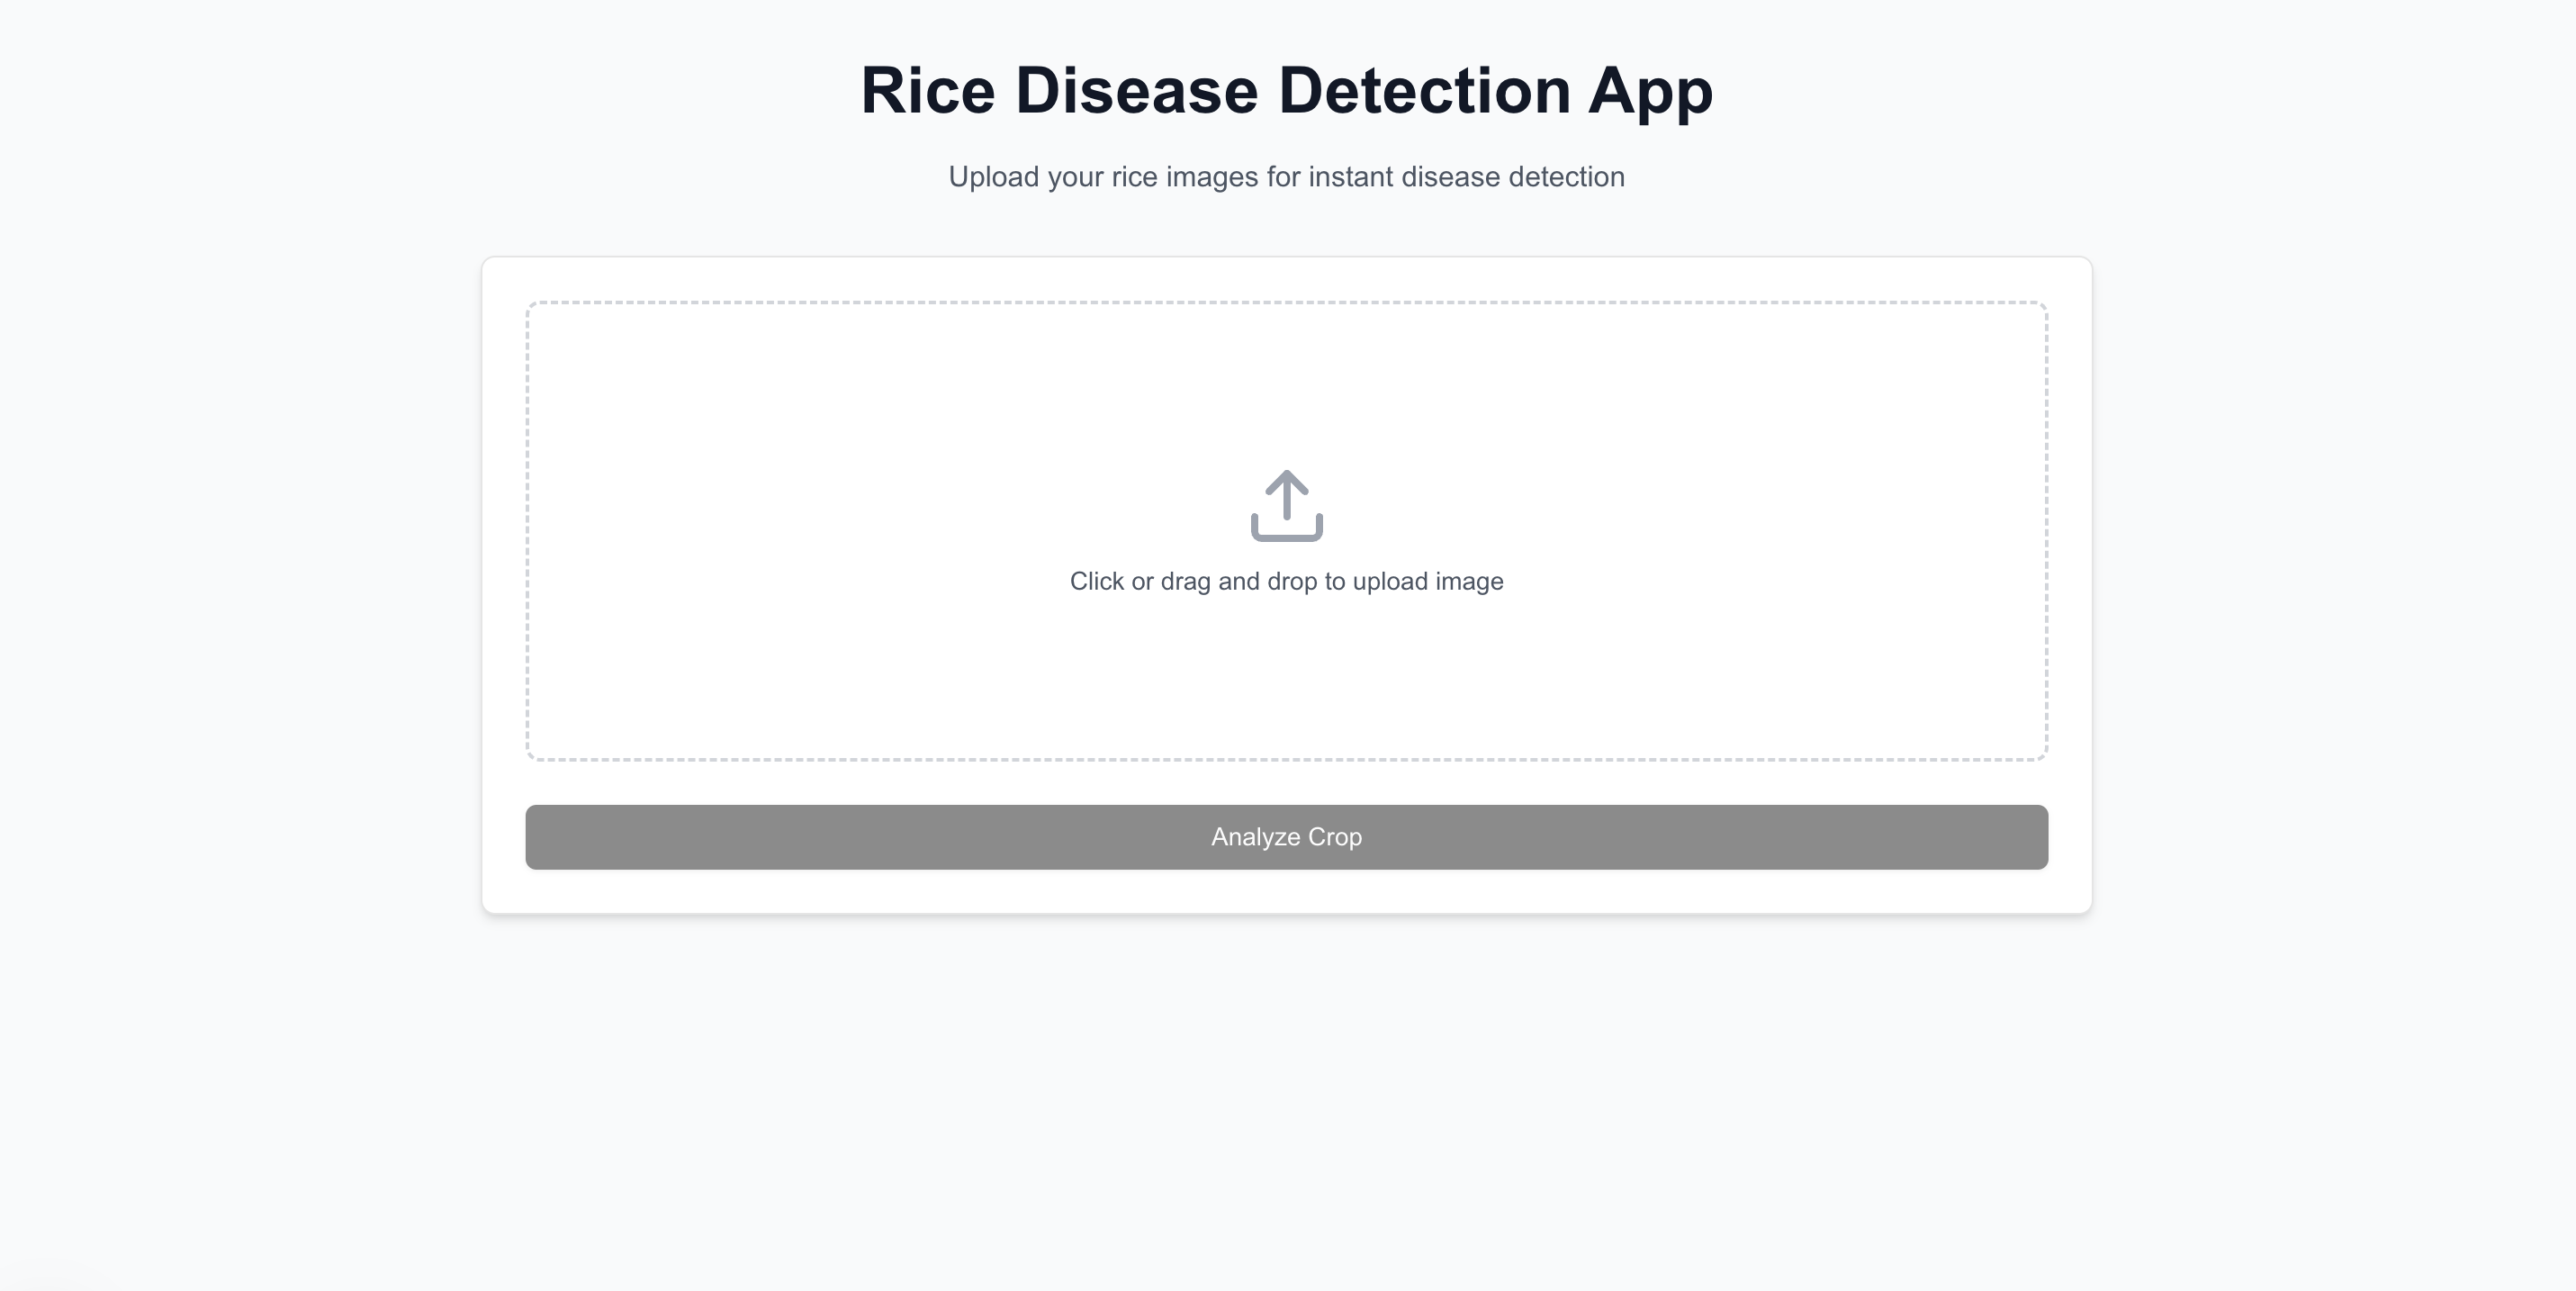
The application should be available at http://localhost:3000.

Conclusion
You have now set up and run the application on your local machine. Note that this would return an error on testing as the AWS services are not configured. Refer to other tutorials in this series to setup the AWS services.
